This page presents test methods and equipment used in, among other activities, identification of products’ materials and contamination, determination of chemical composition, material emissions, inspections of technical cleanliness, tests of petroleum products and working fluids
Test methods and equipment – part 1

On this page:
- Elemental Analysers
- Chromatography
- Spectrometry
- VIS spectrophotometers
- VIS spectrophotometer
- Spectrophotometric colour measurements
- BYK-mac i spectrophotometer
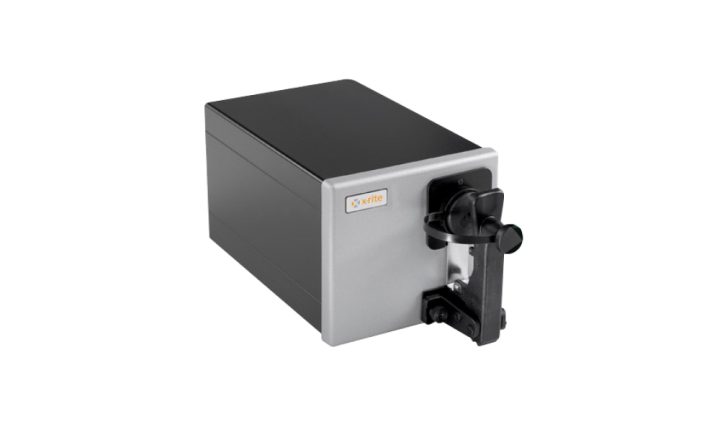
- CF57/CA X-Rite spectrophotometer
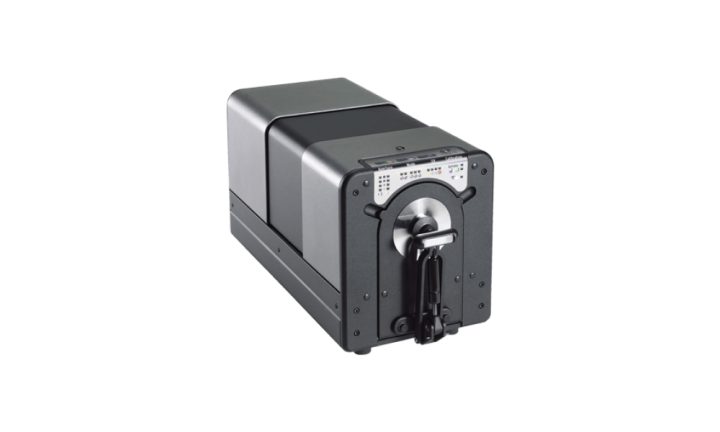
- Color i5 X-Rite spectrophotometer
- Fourier Transform Infrared Spectroscopy (FTIR)
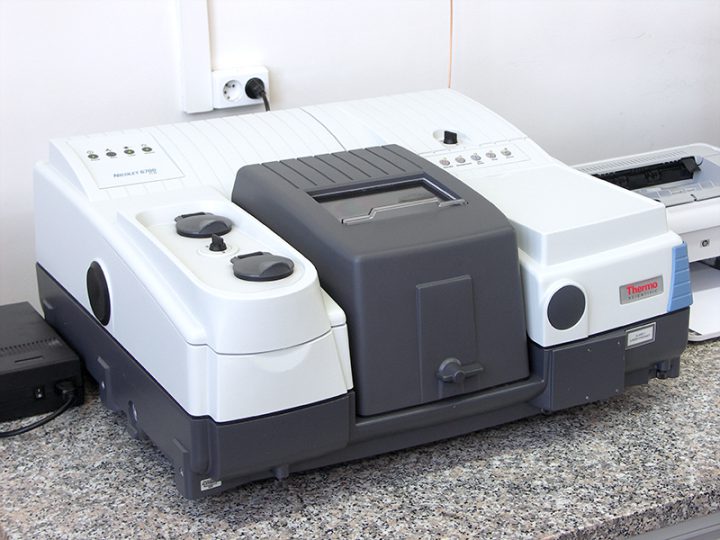
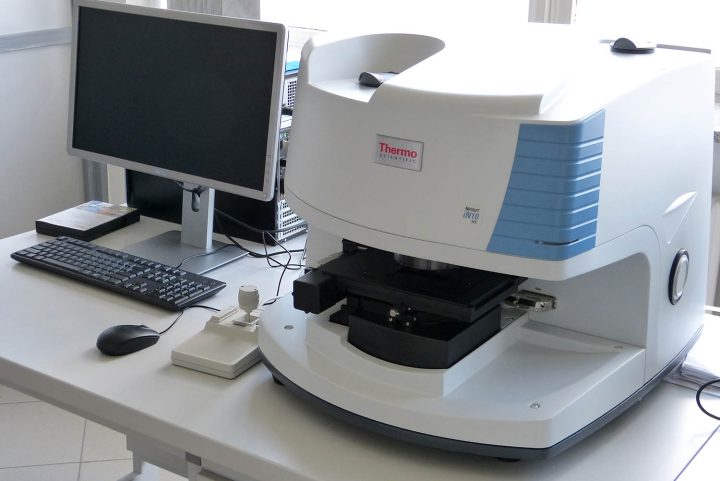
- Fourier transform infrared (FTIR) spectrometer
- FTIR spectrophotometer
- Spectroradiometric measurements
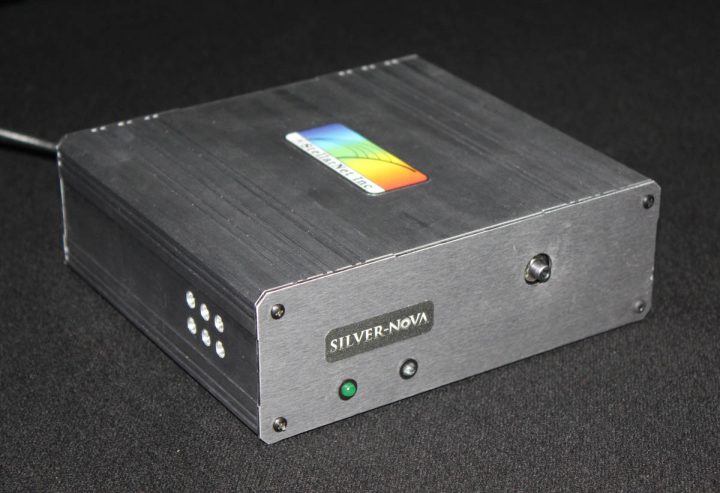
- Stellar Net Inc. SILVER NOVA TEC X2 spectrometer
- Thermal analysis
- Microscopy techniques
- Apparatus for testing emissions and odours from materials
- Micro-Chamber/Thermal Extractor
- Environmental chambers 1 m3 for VOC emission testing
- Fogging test
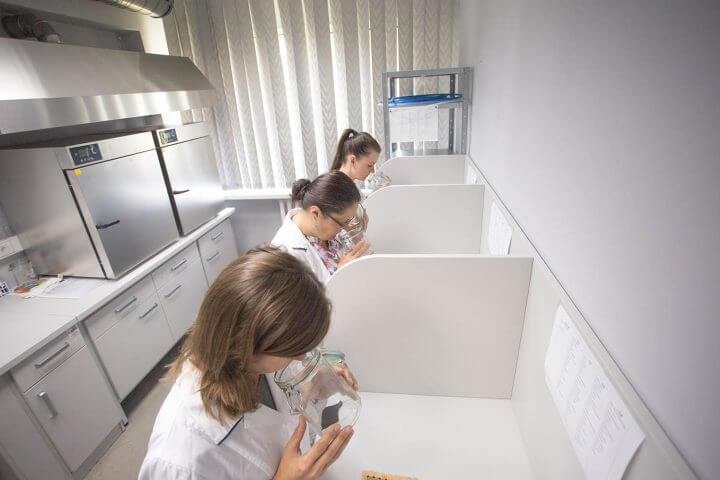
- Laboratory for odour testing
- Laboratory and equipment for testing technical cleanliness
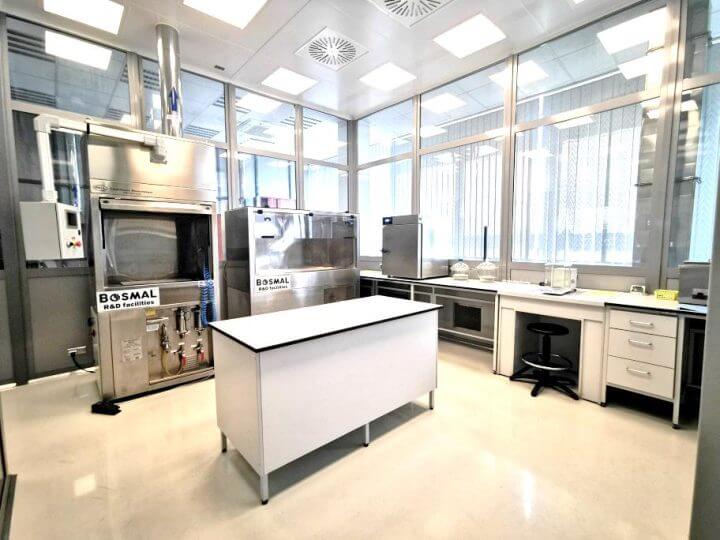
- Clean room – cleanliness test room and equipment
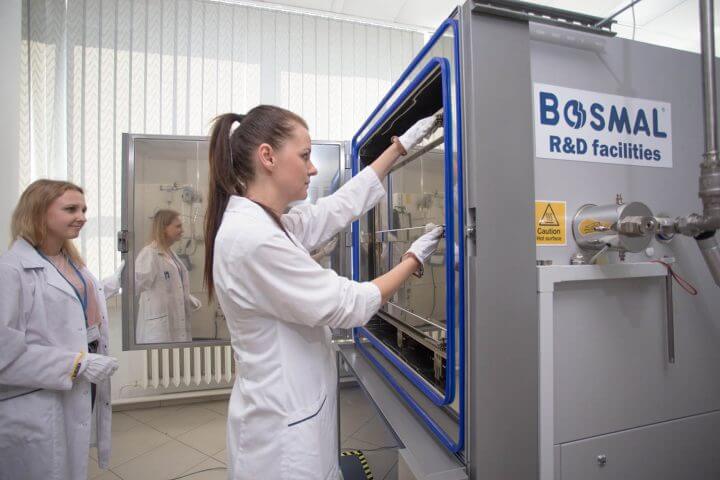
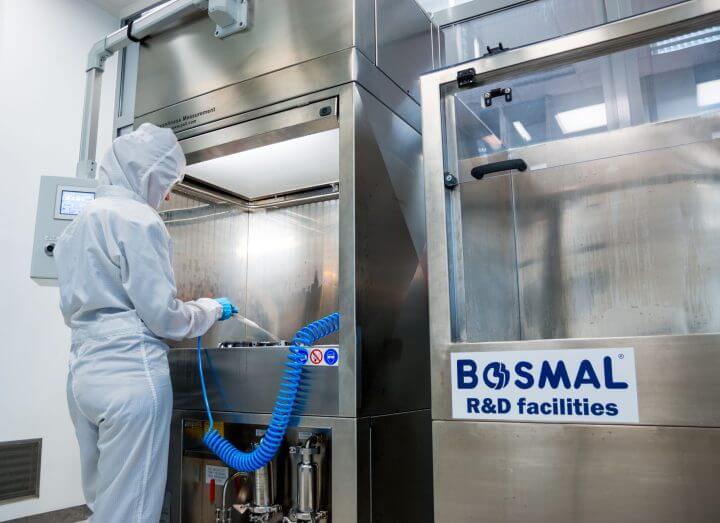
- Automatic pressure washing station (with the possibility of cleaning large parts)
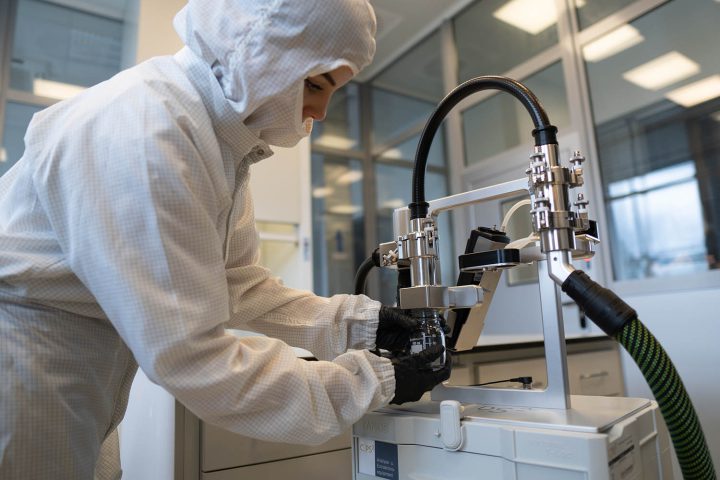
- Particle extraction system
- Equipment for testing petroleum products and operating fluids
See more:
Presentation of selected test methods and equipment – Part 2
On this page:
- Equipment for testing the physicochemical properties of materials and products, including aesthetic and functional properties
- Equipment for testing mechanical properties
- Equipment for testing internal and external corrosion and erosion and the effects of corrosive gases
- Apparatus for testing resistance to environmental conditions – temperature, humidity and light, as well as ageing in an atmosphere with ozone
- High-pressure and product tightness test chambers
- Shock test chambers
Presentation of selected test methods and equipment – Part 3
On this page:
- Other selected test equipment for automotive components and assemblies
- Selected test equipment for vehicle, emissions, engine and powertrain testing. On-site and road tests
Elemental analysers
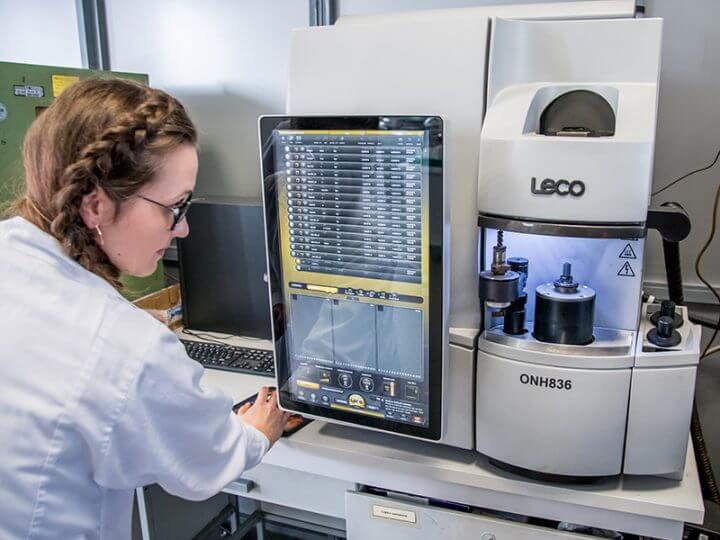
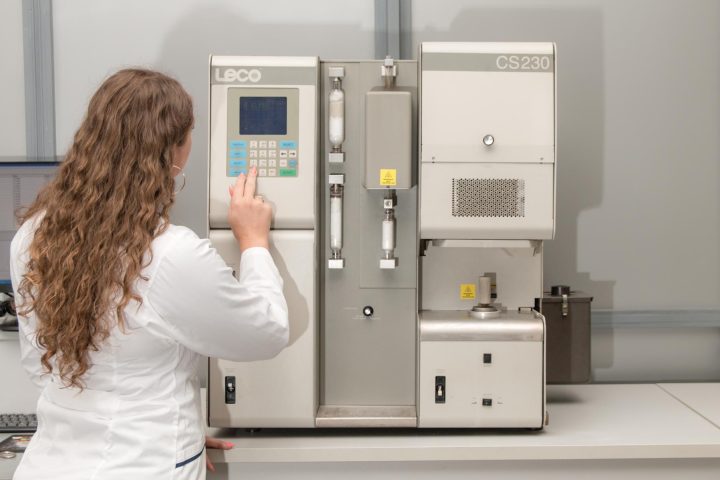
Oxygen, nitrogen and hydrogen analyser
Elemental analyser
- instrument equipped with thermoconductive and infrared detectors
- for determining the content of light elements (oxygen, nitrogen, hydrogen) in metal alloys
- used – among other things – to identify hydrogen embrittlement
- complements techniques such as ICP-OES and WD-XRF in the analysis of metals and their alloys
Range of detection
- H: 1 – 100 ppm
- O: 0.001 – 0.050%
- N: 0.002 – 1.50%
Chromatography
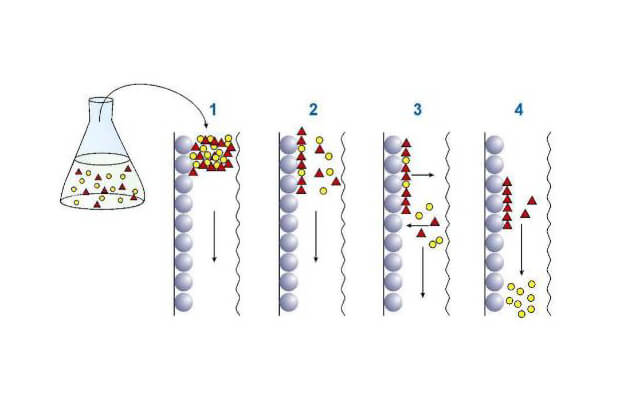
Chromatography is a physico-chemical method of separating mixtures of substances, in which the components to be separated are divided between two phases: a stationary phase and a mobile phase, moving through a chromatographic column. In gas chromatography the mobile phase is a gas (usually helium or hydrogen). In liquid chromatography the mobile phase is a liquid or a mixture of liquids.
Chromatography is based on the phenomenon of intermolecular interactions between the components of the mixture being analysed and the lining of the column. The different partitioning of the components of the mixture between the mobile and stationary phases results in differences in the migration velocity and separation of the components.
The chromatographic separation results in a chromatogram, i.e. a plot of the indication of the signal obtained by the detector as a function of time. The part of the chromatogram illustrating the detector signal for a single substance is the peak.
Liquid chromatography
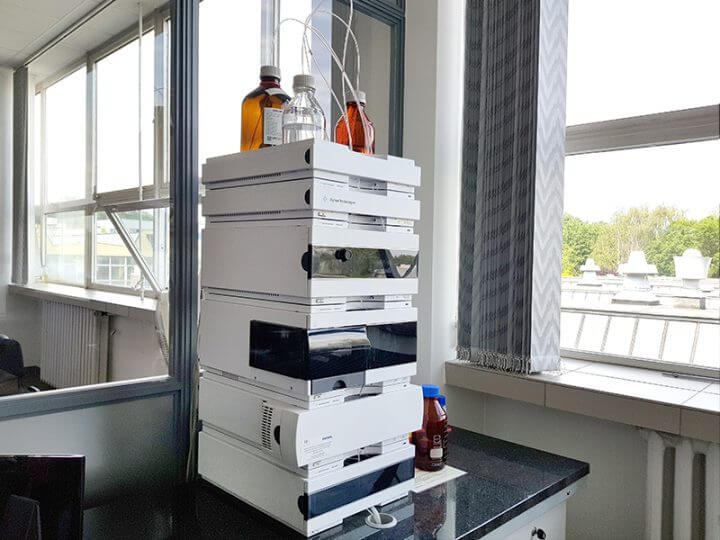
High performance liquid chromatograph (HPLC) with UV-VIS detection (diode array detector, DAD)
- Used in qualitative and quantitative analysis of soluble compounds in the mobile phase
- Enables the analysis of compounds with various molecular weights and volatilities, as well as compounds which are unstable at high temperatures
- Used in the analysis of carbonyl compounds (including formaldehyde and acetaldehyde) and phthalates emitted from materials
Gas chromatography
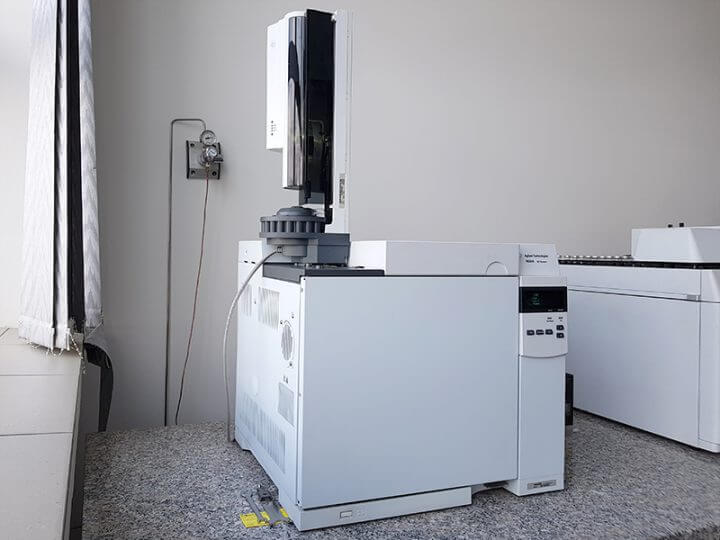
Gas chromatograph equipped with liquid sample loader
This chromatograph is dedicated to the research of petroleum products, permitting
- their identification and determination of the presence of impurities
- analysis of engine oils and fuels – enabling (among other things) comparative testing of the composition of mixtures
- quantifying the presence of fuel in engine oil.
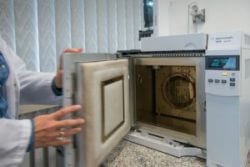
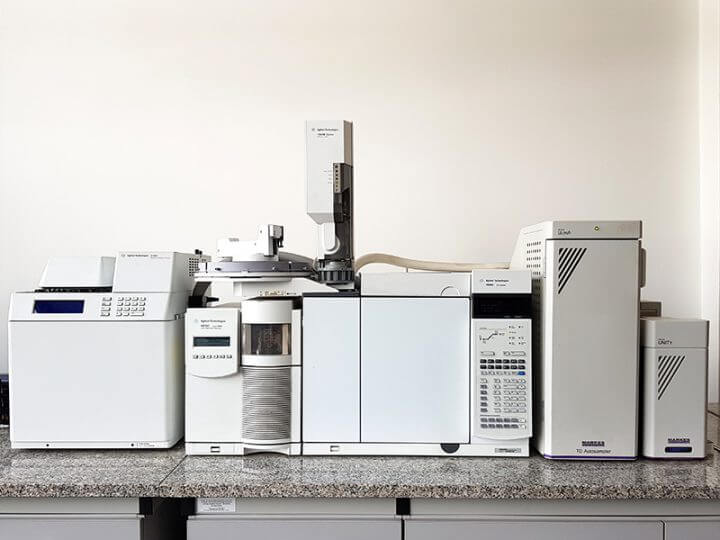
Gas chromatograph with flame ionisation and mass detector (GC-FID/MS)
This chromatograph is equipped with
- Mass spectrometer and FID flame ionization detector
- Liquid sample loader
- Headspace Sampler
- Thermodesorber with sample changer
- Microcell for emission tests
The chromatograph is intended for qualitative (identification of compounds) and quantitative analyses of organic substances from liquid and gaseous samples via the following methods:
- headspace – e.g. testing volatile organic compounds (VOC) emissions under static conditions
- thermal desorption – e.g. testing of VOC emissions based on air samples collected on appropriate adsorbent beds
- VOC emission tests from materials under dynamic conditions (e.g. according to VDA 278)
- direct feeding of liquid samples
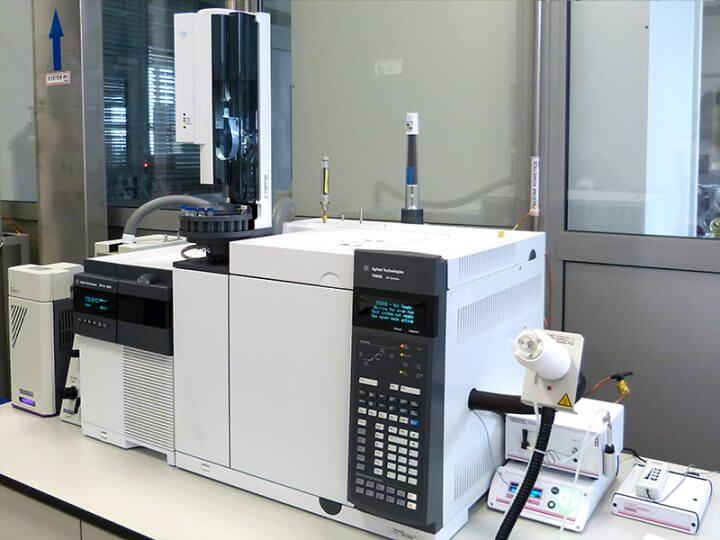
Gas chromatograph with a nitrogen-phosphor and mass detector (GC-NPD/MS) and olfactometric port
This chromatograph is equipped with:
- Mass spectrometer and NPD nitrogen phosphor detector
- Olfactometric port
- Liquid sample loader
- Termodesorber
The chromatograph, by separating the analysed samples into individual organic compounds, permits:
- identification of compounds
- analysis of the quantitative composition of the samples
- odour analysis of individual compounds separated during chromatographic analysis, with simultaneous identification using mass spectrometry
The gas chromatograph is dedicated to the analysis of amines, nitrosamines and other organic compounds containing nitrogen and phosphorus.
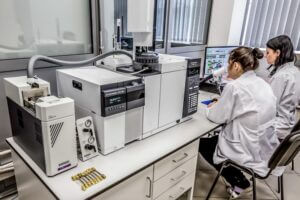
Ion chromatography
Chromatographic analysis of the extract under test, allows the separation of individual ions to be obtained in chromatograms.
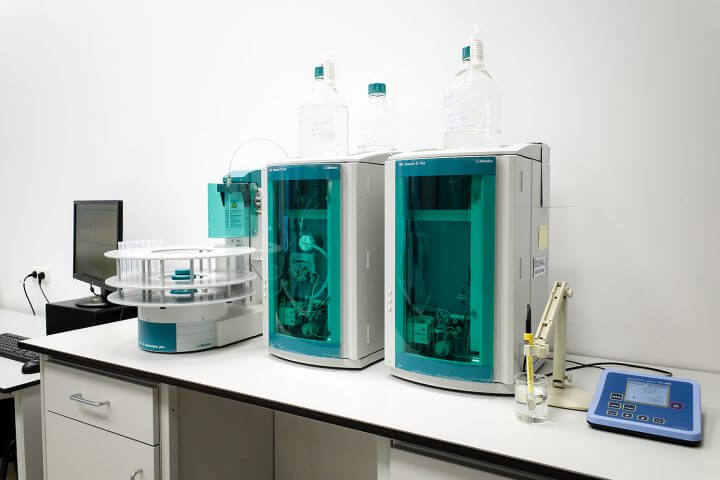
Ion chromatographs
Using this set of ion chromatographs and the corresponding standard solutions, in BOSMAL’s laboratories we carry out – among other test types -detailed evaluations of the ionic purity of the surface of the test pieces. On the basis of the tests, qualitative and quantitative analysis is possible, as well as the determination of the main anions, such as chlorides and bromides, and the main cations, such as sodium, ammonium ions and potassium. The test methodology introduced allows measurement of ions at low concentration levels (of the order of 1 mg/L). In addition, it is possible to determine fluoride, chloride, nitrite, nitrate, bromide, phosphate and sulphate anions. Of the cations, it is additionally possible to determine lithium, calcium and magnesium. The test is carried out on aqueous solutions obtained from surface washing or from solvent extraction carried out at room temperature (or elevated temperature), e.g. in closed containers or bags of appropriate purity (e.g. according to IPC-TM-650 method no. 2.3.28.2).
Spectrometry
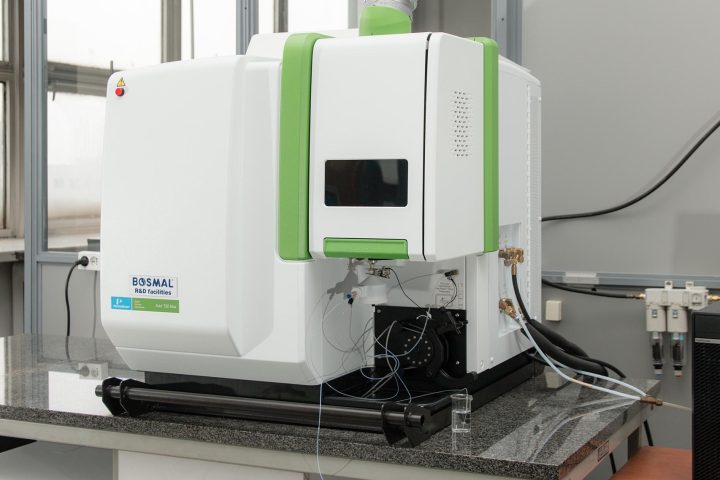
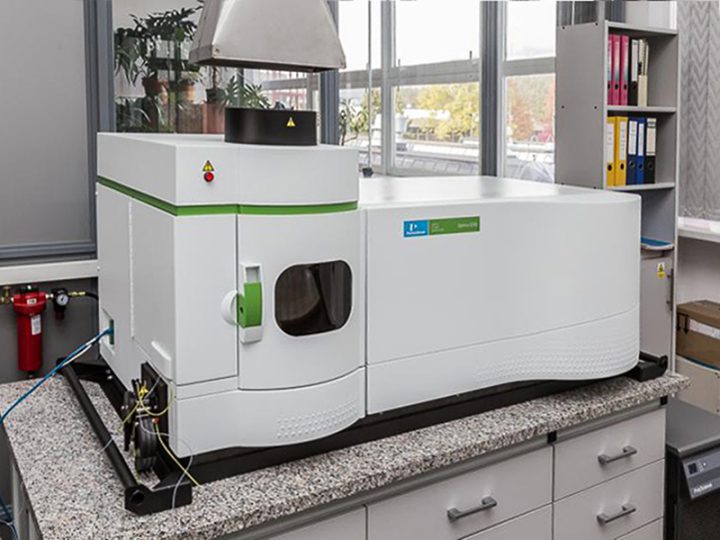
Inductively Coupled Plasma Optical Emission spectroscopy (ICP-OES)
Inductively coupled plasma optical emission spectrometry (ICP-OES) is an analytical method for determining the elemental composition of a test substance. The method analyses the electromagnetic radiation produced by excitation of atoms in a plasma flame. The advantage of the method is its very high sensitivity (it is possible to analyse samples of mass around 1 mg and above), while the disadvantage is the necessity of turning the sample into solution (microwave-assisted high-pressure dissolution in acids), and thus the destruction of the sample analysed during the test.
Inductively Coupled Plasma Optical Emission spectroscopy (ICP-OES)
- allows analysis of the elemental composition of samples of metals and alloys, sludge, dust, ash and the content of elements in aqueous solutions, composites, plastics, rubbers and automotive catalysts
- before analysis, solid samples are mineralised in acids (under increased pressure in a microwave mineraliser, or in an open system) or melted
- the spectrometer has a wide analytical range
The instrument can determine the following chemical elements:
Li, Be, B, Na, Mg, Al, Si, P, S, K, Ca, Sc, Ti, V, Cr, Mn, Fe, Co, Ni, Cu, Zn, Ga, Ge, As, Se, Pb, Sr, Y, Zr, Nb, Mo, Rh, Pd, Rb, Ag, Cd, In, Sn, Sb, Te, Cs, Ba, Hf, W, Pt, Au, Hg, Pb, Bi, Ta
Inductively Coupled Plasma Optical Emission spectroscopy (ICP-OES)
- allows analysis of the elemental composition of samples of metals and alloys, sludge, dust, ash and the content of elements in aqueous solutions, composites, plastics, rubbers and petroleum products and automotive catalysts
- before analysis, solid samples are mineralised in acids (under increased pressure in a microwave mineraliser, or in an open system) or melted
- analysing the elemental content of fuels, including gasoline via a cooled mist chamber
- for the analysis of the elemental content of engine oils, transmission oils, coolants, lubricants, etc.
- the spectrometer has a wide analytical range
The instrument can determine the following chemical elements:
Li, Be, B, Na, Mg, Al, Si, P, S, K, Ca, Sc, Ti, V, Cr, Mn, Fe, Co, Ni, Cu, Zn, Ga, Ge, As, Se, Pb, Sr, Y, Zr, Nb, Mo, Rh, Pd, Rb, Ag, Cd, In, Sn, Sb, Te, Cs, Ba, Hf, W, Pt, Au, Hg, Pb, Bi, Ta
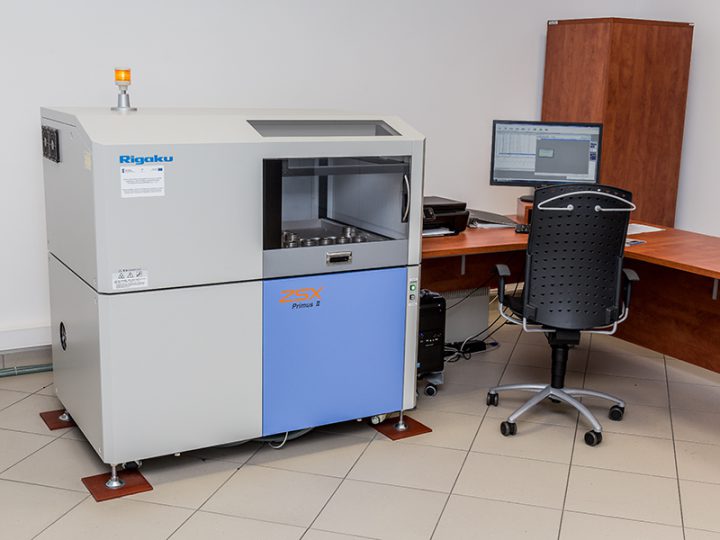
X-ray fluorescence spectrometry (XRF)
X-ray fluorescence spectrometry (XRF) is an analytical method for determining the elemental composition of the substance under investigation. It is based on the analysis of photons arising from electron jumps between orbitals, which are caused by bombarding the sample under examination with X-rays. The main advantage of this method is that it is non-destructive and samples can be analysed repeatedly. The disadvantages are the need for quite large sample volumes and the relatively high radiation energy, which often also penetrates the material.
Wavelength-dispersive X-ray fluorescence spectrometer (WD-XRF)
- allows analysis of the elemental composition of samples of metals and alloys, sludge, dust, ash and the content of elements in composites, plastics, rubbers, petroleum products and automotive catalytic converters
- the 4 kW X-ray tube permits very precise analytical measurements
- allows examination of surfaces with heterogeneous composition
- allows the distribution of elements present on the surface of samples and filters to be mapped
- allows examination of the content of elements in engine oils, gearboxes, coolants, lubricants, etc.
- wide analytical range
Range of elements to be determined:
Na, Mg, Al, Si, P, K, Ca, Sc, Ti, V, Cr, Mn, Fe, Co, Ni, Cu, Zn, Ga, Ge, As, Se, Pb, Sr, Y, Zr, Nb, Mo, Rh, Pd, Ag, Cd, In, Sn, Sb, Te, Cs, Ba, Hf, W, Pt, Au, Hg, Pb, Bi, C, S, O, Cl, Br
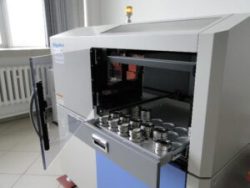
Selected instruments for sample preparation for spectrometric studies
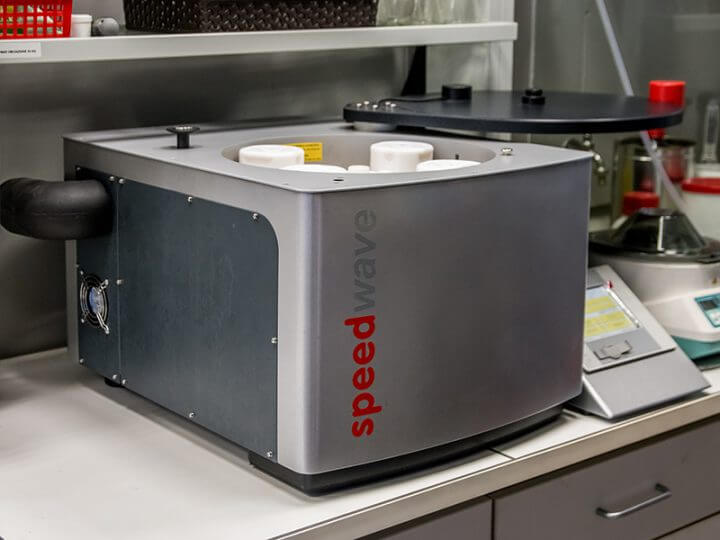
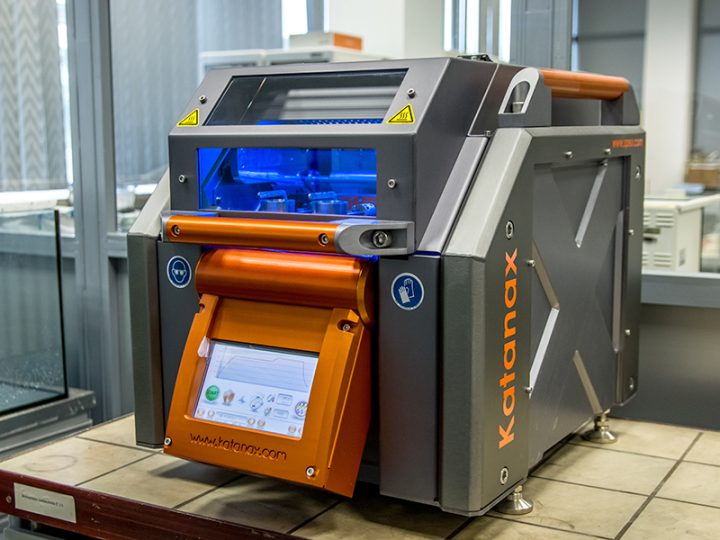
Microwave Digestion System
- Auxiliary device for the preparation of samples in the analysis of elemental composition
- Reproducible digestion processes thanks to homogeneous microwave distribution
- Microwave digestion with active reaction monitoring
VIS spectrophotometers
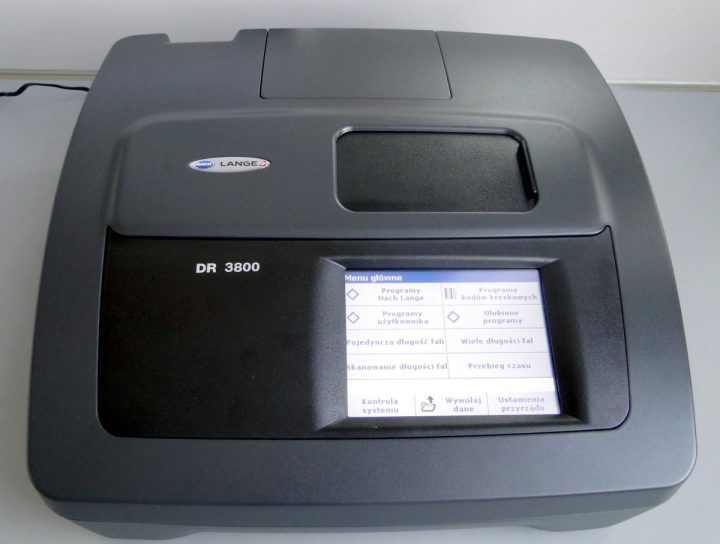
VIS spectrophotometer
A VIS spectrophotometer with a wavelength range of 320 to 1100 nm.
Among other things, the instrument is equipped with multiple wavelength mode, wavelength scan and time waveform. It takes digital readings, given directly in units of concentration, as absorbance or percentage of transmittance.
Spectrophotometric colour measurements
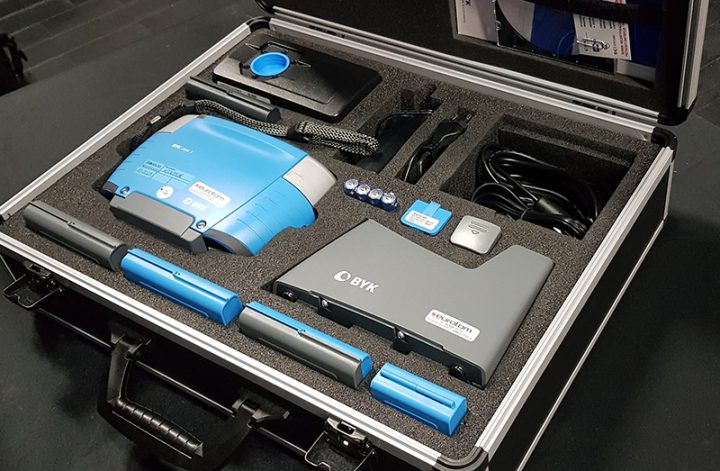
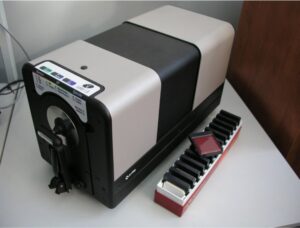
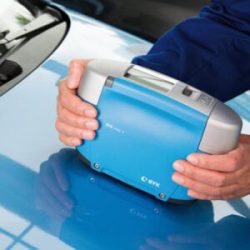
Spectrophotometer
The spectrophotometer is a unique, portable instrument for simultaneous multi-angle colour measurement and analysis of metallic pastes.
It enables:
- classic 5-angle colour measurement at angles of 15º/25º/45º/75º/110º
- additional -15° colour measurement for interference pigments
- “sparkle” and “graininess” measurements for the investigation of the sparkle and grain effects of metallic pigments
- fluorescence detection and measurement
Fourier Transform Infrared Spectroscopy (FTIR)
FTIR infrared spectroscopy uses radiation in the infrared range which, as it passes through a sample of the test substance, is selectively absorbed by vibrating bonds between atoms. The frequency of these vibrations is characteristic of the functional group in question. The spectrogram (spectrum) of the substance obtained as a result of the test makes it possible to determine the characteristic functional groups present in the test sample and, as a result, to identify, for example, a plastic or a type of organic liquid.
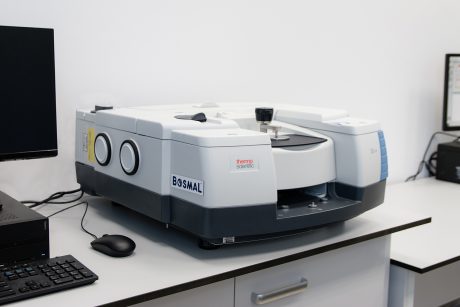
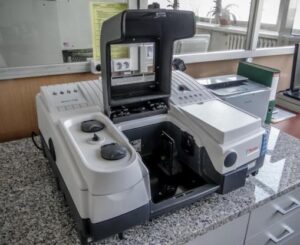
Fourier transform infrared (FTIR) spectrometer
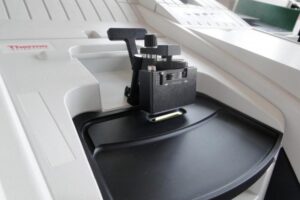
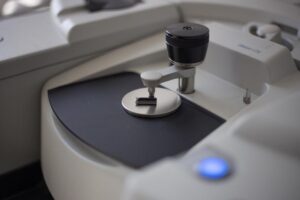
The spectrometer is equipped with test adapters: transmission and reflection (ATR and HATR), which enable testing of both solutions and solids.
Spectrometer:
- Used to identify the base material of plastics, foams, adhesives, rubbers, solvents, petroleum products
- Permits the identification of small sizes of solid impurities (very often in a non-destructive way)
- Enables the performance of comparative analyses to determine the differences between the sample base materials
- Permits analysis of surface contamination in the form of stains, discoloration or tarnishing, via direct collection (or by extraction with a suitable solvent)
- In specific cases, it also allows the identification of inorganic substances, e.g. fillers
Fourier Transform Infrared (FTIR) spectrometer
The spectrometer is equipped with test adapters: transmission and reflection (ATR and HATR), which enable testing of both solutions and solids.
Spectrometer:
- Used to identify the base material of plastics, foams, adhesives, rubbers, solvents, petroleum products
- Permits the identification of small sizes of solid impurities (very often in a non-destructive way)
- Enables the performance of comparative analyses to determine the differences between the sample base materials
- Permits analysis of surface contamination in the form of stains, discoloration or tarnishing, via direct collection (or by extraction with a suitable solvent)
- Enables quantitative measurements to be performed – of benzene content, FAME content, glycol content, soot content, degree of oxidation and nitration
- In specific cases, it also allows the identification of inorganic substances, e.g. fillers
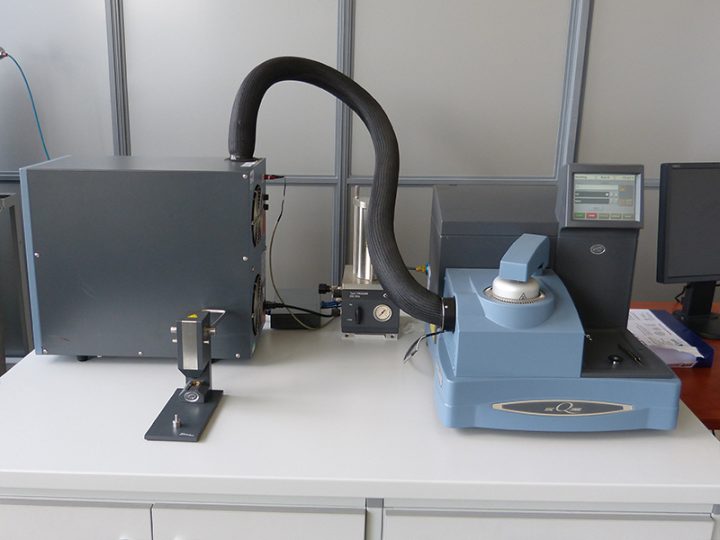
Thermal analysis
Differential Scanning Calorimetry (DSC)
Differential scanning calorimetry (DSC) is a thermoanalytical technique.
Measurements carried out by the differential scanning calorimetry method consist of determining the amount of heat transferred to (or taken from) the test sample per unit time, necessary to maintain the same temperature of the sample and a neutral thermal reference (empty crucible), during their heating or cooling at a constant rate. The proportionality of the measurement signal to the heat flux in the DSC enables the direct measurement of the heat capacity and the determination of the cp (T) relationship, and thus the quantitative “observation” of the course of changes in the sample material on the basis of the shape of the DSC curve. The value of the heat flux (dH/dt) depends first of all on the type of transformation or thermal reaction taking place in the sample, and also on the instrumental factors of the measurement.
Thermogravimetry (TGA)
Thermogravimetry (TGA) is a technique belonging to the group of thermal analysis methods in which the mass changes of a sample under a specific temperature regime are determined. Losses (or increases) in mass depend above all on the stoichiometry of the reactions occurring during analysis. The technique allows the determination of the individual components of a substance, the determination of the magnitude of the thermal transformation and the temperature at which this transformation takes place. Thermogravimetry also makes it possible to study phase transitions and reactions (e.g. oxidation).
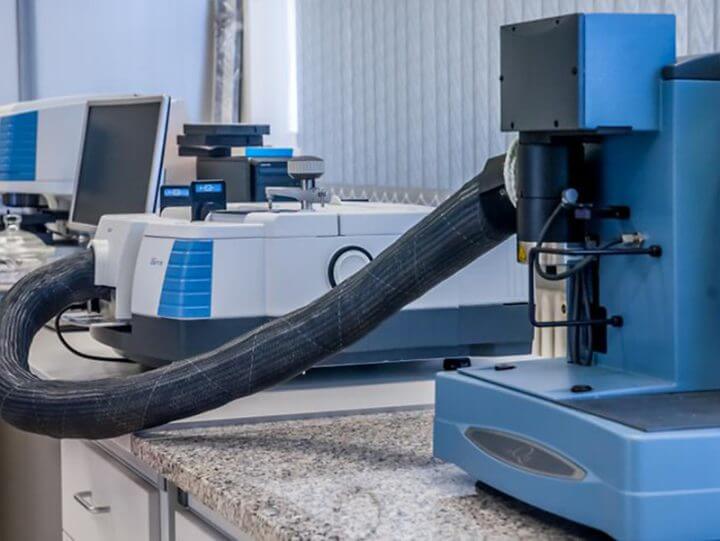
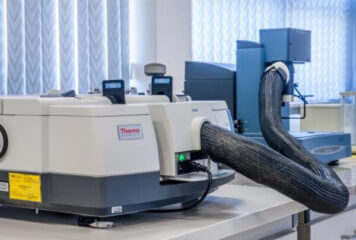
Thermogravimetric analyser (TGA) coupled with a spectrometer
Device operating temperature range: from RT to 1000° C
Controlled heating rate from 0.1 to 100° C / min
Concurrent coupled techniques involve examining a sample using two (or more) instrumental techniques. Techniques of this type include thermogravimetry coupled with infrared spectrometry (TGA-FTIR), which enable the study of gases evolved during thermal degradation. The test sample is heated at a constant rate according to a controlled temperature program, and the change in mass as a function of temperature is measured; the gases generated during the thermogravimetric analysis are analysed simultaneously. Alternatively, the sample is held at a specific, constant temperature and the change in weight over time is measured over a specified period of time, while analysing evolved gaseous products. The stage ending the measurement is the interpretation of the IR spectrum, from which information is obtained about the functional groups and types of bonds that were in the tested portion of the gas released from the degraded material at a given temperature or time interval.
Microscopy techniques
SEM electron microscopy
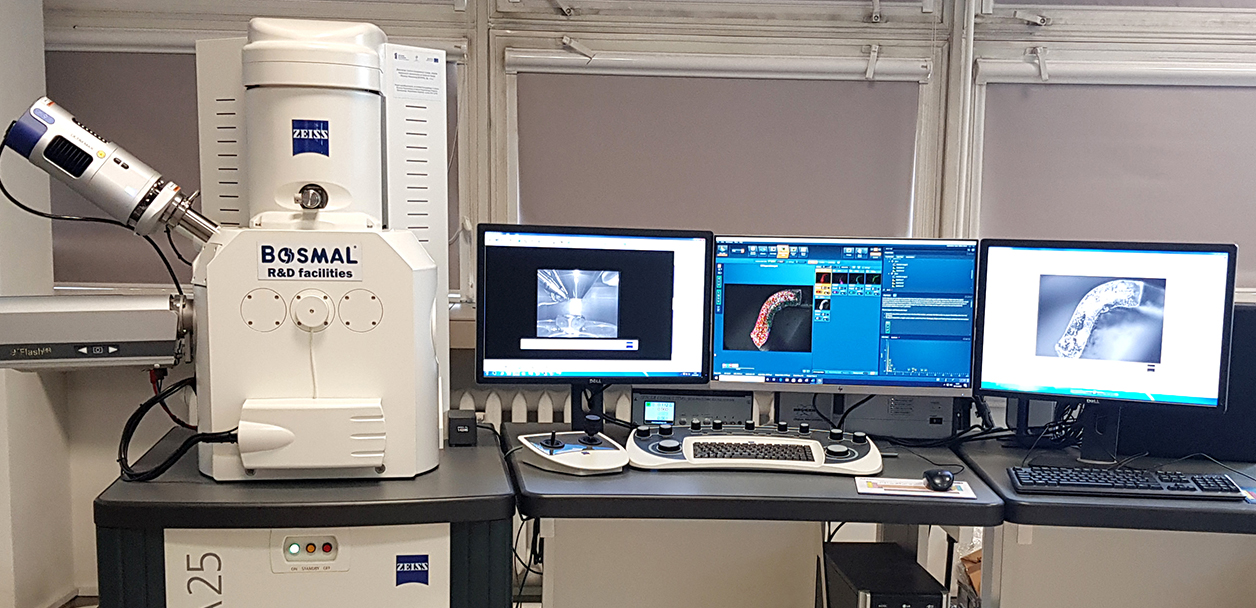
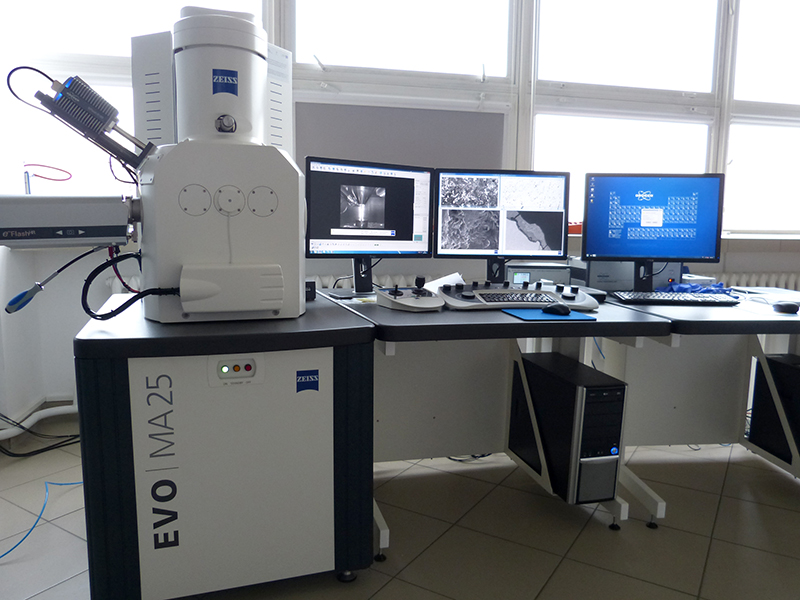
Scanning electron microscope, with analyser and EBSD analyser
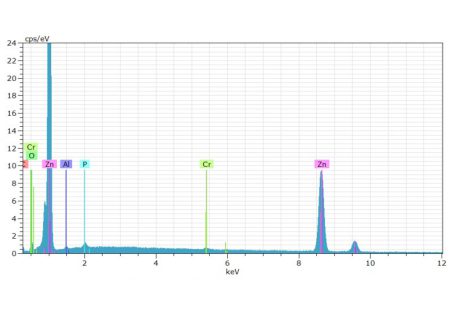
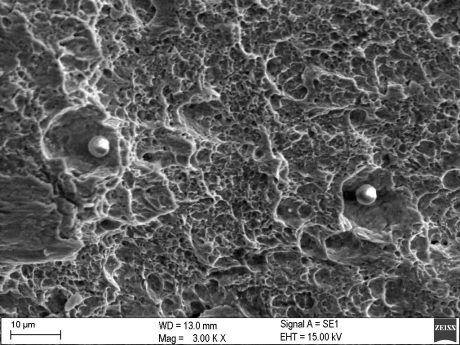
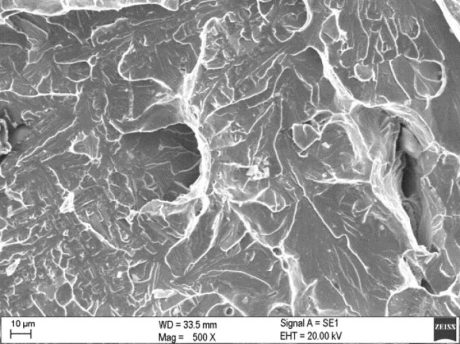
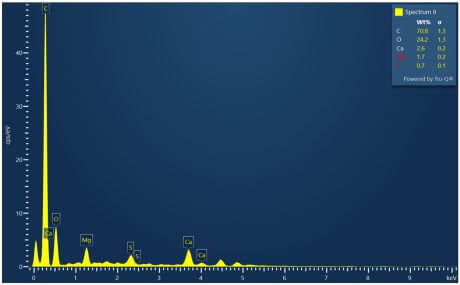
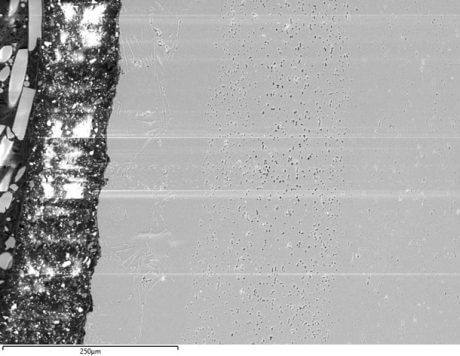
This scanning electron microscope with the ability to work in high and low vacuum mode allows analysis of both conductive and non-conductive samples. It has SE (secondary electron) and BSE (backscattered electron) imaging, it is also equipped with EDS (energy dispersive X-ray spectroscopy) and EBSD (electron backscatter diffraction) analysers.
Research opportunities:
- Operation in high and low vacuum mode, which allows analysis of both conductive and non-conductive samples
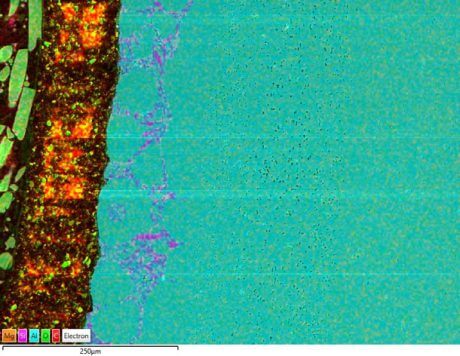
- Qualitative and quantitative analysis and mapping the elemental composition of samples
- Evaluation of the fracture surface fractography, enabling the nature of the fracture to be determined; material discontinuities and e.g. hydrogen embrittlement; identification of undesirable inclusions on the fracture surface
- Analysis of the size and type of non-metallic inclusions
- Linear microanalysis of diffusion coatings and layers
- Classification of pollutants on filters – technical cleanliness tests
- Possibility of testing relatively large samples (300×200×200 mm)
Light (optical) microscopy
Light (optical) microscopy – in addition to standard optical microscopes, we can find digital microscopes, metallographic microscopes and several other types.
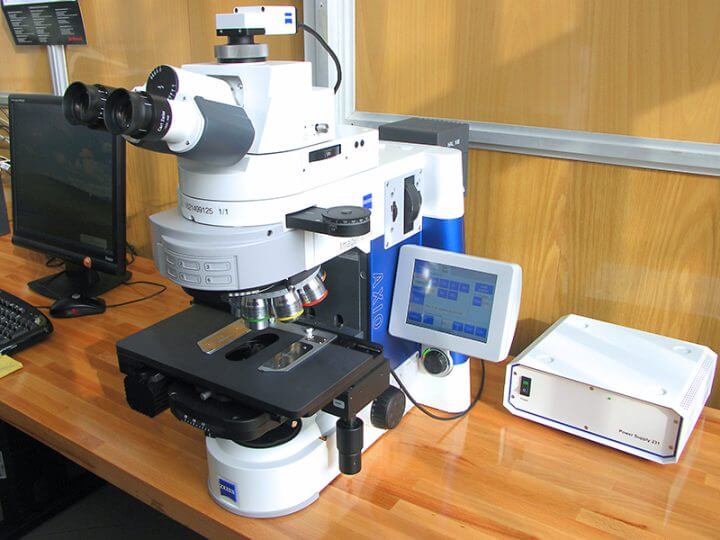
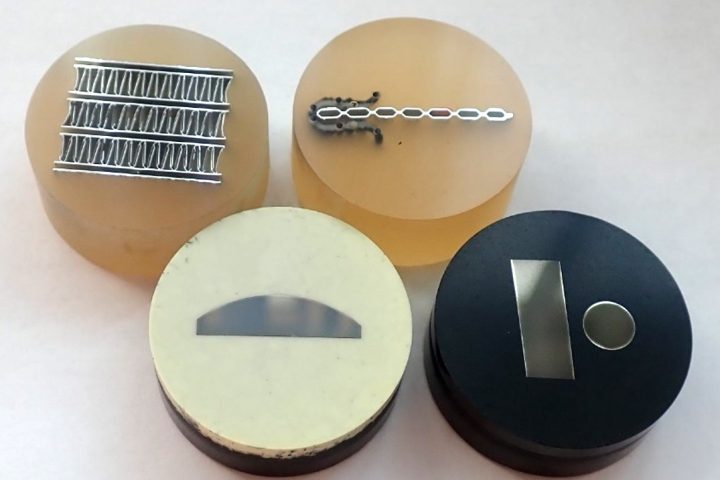
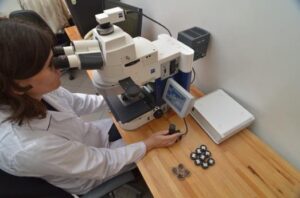
Metallographic microscope
- Magnification 12.5 – 2500×
- Image analysis software
- Reflected light observation techniques
- Bright field
- Dark field
- Polarization
- Differential interference contrast
- Differential interference contrast in circular polarisation
- The possibility of observation in transmitted light
- Built-in automated table that allows surface scanning
- Module for folding surfaces – Mosaix (up to 4 cm)
- 3D module
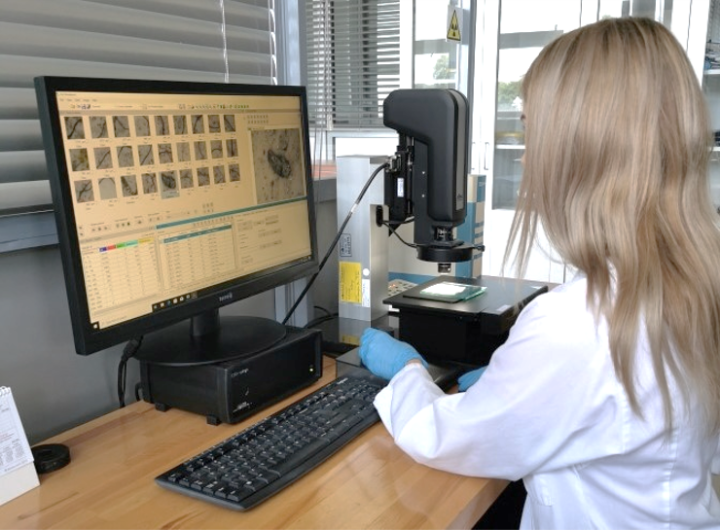
- Particle Analysis module for filter contamination analysis
- NMI module for analysis of non-metallic inclusions
- Module for graphite analysis in cast iron
- Grain size analysis module
- Microstructure analysis
- Thickness measurements of oxide, metallic and paint coatings
- Identification of the type of corrosion (pitting, surface, intercrystalline)
- Corrosion depth measurements
- Porosity analysis
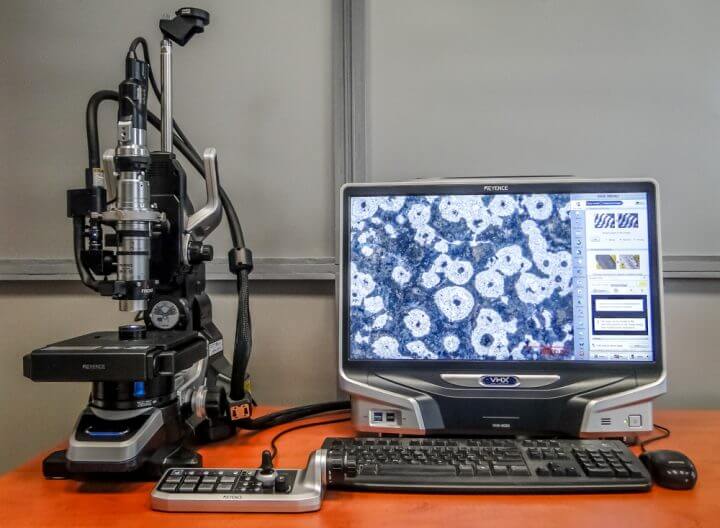
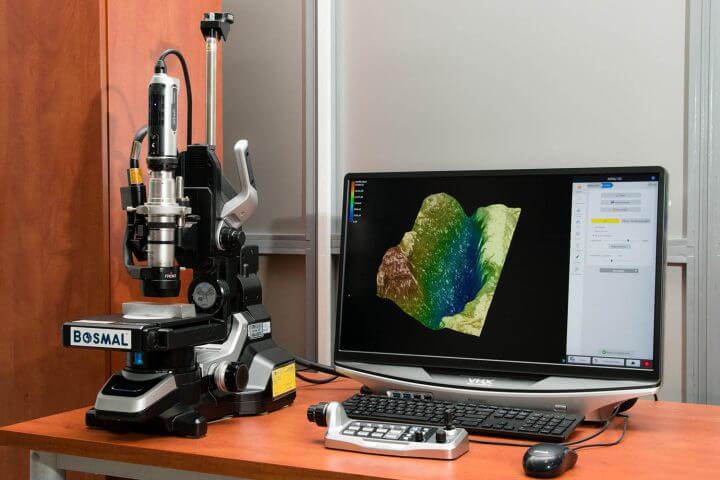
Digital microscope
- Magnification 20 – 1000×
- Advanced image sharpening
- High quality and resolution images
- Observation in reflected and transmitted light
- Observation at varying angles
- Removing reflections
- A high-speed automated table that allows surface scanning
- Quick folding of the surface (up to 4 cm)
- 3D surface visualization
- Surface roughness measurement
- Automatic particle counting
- Automatic edge detection
- Real-time measurements
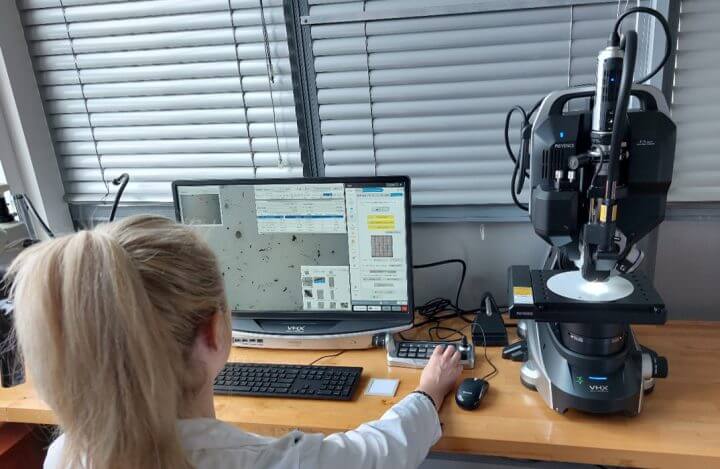
Digital microscope
- Magnification 5 – 1000×
- Advanced image sharpening
- High quality and resolution images
- Observation in reflected and transmitted light
- Observation at varying angles
- Removing reflections
- A high-speed automated table that allows surface scanning
- Quick folding of the surface (up to 4 cm)
- 3D surface visualization
- Surface roughness measurement
- Automatic particle counting
- Automatic edge detection
- Real-time measurements
Digital microscope with head for laser elemental analysis
- Magnification 5 – 1000×
- Advanced image sharpening
- High quality and resolution images
- Observation in reflected and transmitted light
- Observation at varying angles
- Removing reflections
- A high-speed automated table that allows surface scanning
- Quick folding of the surface (up to 4 cm)
- 3D surface visualization
- Surface roughness measurement
- Automatic particle counting
- Automatic edge detection
- Real-time measurements
- head for laser elemental analysis
Equipment for testing emissions and odours from materials
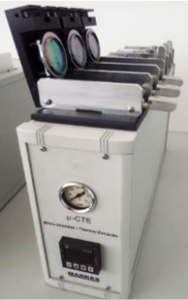
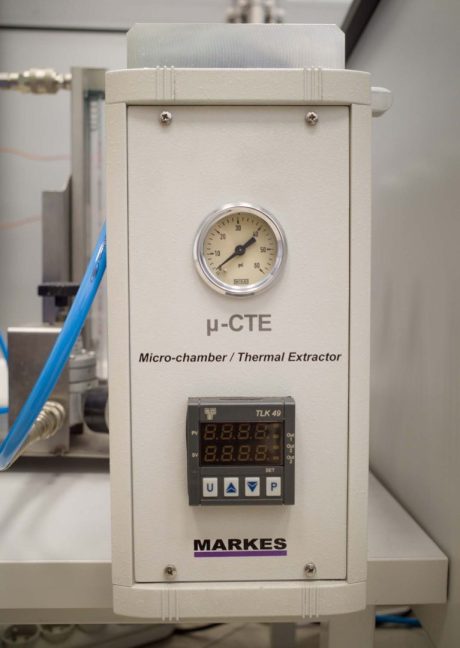
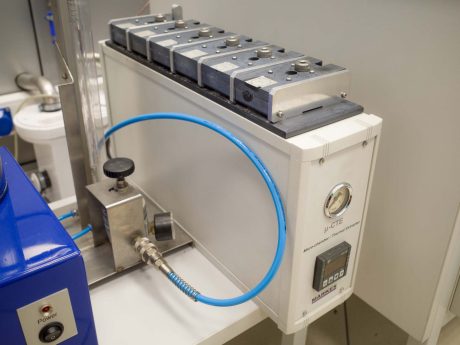
Micro-Chamber/Thermal Extractor
The µ-chamber thermal extraction method consists of placing and heating up of a plastic or rubber sample or finished product in a microchamber of 44 cm3 capacity. Substances emitted are then sampled dynamically onto an appropriate sorbent (depending on the type of the compound being analysed); then, qualitative and quantitative analyses are conducted using the gas and liquid chromatography methods.
Environmental chambers 1 m3 for VOC emission testing
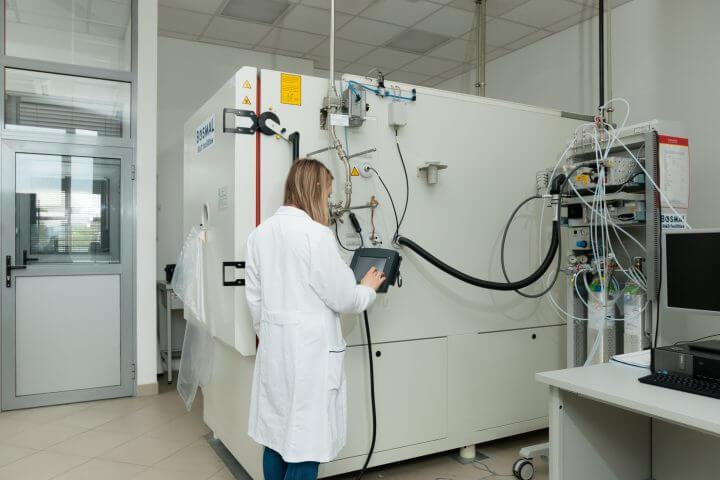
- A 1 m3 environmental chamber for testing VOC emissions from materials, semi-finished and finished components.
- It allows tests to be carried out at constant or variable temperature, with controlled relative humidity and air flow.
- The chamber is equipped with an FID detector, measuring the total concentration of hydrocarbons in the chamber in real time.
- It allows air samples to be taken (for odour testing) or concentrated for analysis of VOCs, carbonyl compounds, amines, nitrosamines and phthalates.
Testing using the environmental chamber makes it possible to obtain information about the amount and type of compounds emitted from components made of different materials and of different dimensions, such as dashboards, car seats, carpets, etc. Tests are carried out in the chamber in accordance with international standards such as ISO 12219-4 and ISO 12219-6, as well as in accordance with the internal standards of major automotive companies.
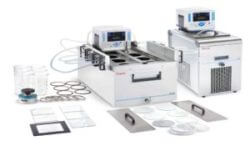
Fogging Tester
These tests rely on the condensation of evaporated, volatile components from the interior fittings on the vehicle windows, particularly the windscreen. The fogging characteristics can be determined by:
- fogging value – the quotient of the reflectometer 60° value of the glass plate with fogging precipitate and the reflectometer 60° value of the same glass plate without fogging precipitate
- fogging value – the quotient of the transmittance of the glass plate with fogging precipitate and the transmittance of the same glass plate without fogging precipitate
- components condensation (G) – difference of the weight of aluminium foil with and without fogging precipitate
Laboratory for odour testing
A room with constant, controlled temperature and humidity, free of odour-emitting materials and substances. In this room, qualified personnel test the odours (in terms of their intensity and type) emitted from a variety of materials and components in a comfortable environment. It is also a training ground for current and potential members of the odour assessment panel.
This highly subjective (at first glance) testing method makes it possible, in many cases, to point out errors that have been made in the processing of plastics and the production of components.
A long and intensive training process, participation in international proficiency tests, participation in training organised by OEMs and in-house research work make it possible to ensure the impartiality and competence of personnel participating in odour tests.
Laboratory and equipment for testing technical cleanliness
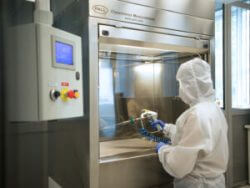
Clean room – cleanliness test room and equipment
- ISO Class 6 cleanroom
- equipped with an automated for spray-washing components to be tested, with interchangeable nozzles and adjustable flow rate, enabling cleanliness tests of complex-shaped objects
- depending on the size and shape of the objects to be tested, contaminants can also be extracted from their surfaces in the ultrasonic bath
- various techniques can be used to wash contaminants off objects: spray washing, ultrasonic extraction, rinsing or shaking
- the room’s equipment allows gravimetric analysis of contaminants
- the separated contamination from objects can also be subjected to quantitative analysis (size, amount and type of contamination: metallic particles, non-metallic particles and fibres), via the use of dedicated optical microscopes
- by means of a scanning electron microscope (SEM-EDX), it is possible to analyse the elementary composition (and thereby also the hardness) of the contamination particles
Equipment for testing petroleum products and operating fluids
Back
to top

